Where our dearest friends share their food adventures!
Kimchi with Garlic Scapes – by Adam D. Zolkover, 7/9/2015
3 Small heads Napa Cabbage, cut into squares
1 bunch Garlic Scapes, washed and sliced
1 bunch Scallions, washed and chopped
1 inch Ginger, peeled
3 Cloves of Garlic, peeled
1/2 cup Korean Red Pepper Powder
1/2 cup Fish Sauce
1/4 cup Kosher Salt
2 tsp Granulated Sugar
Core the napa cabbage, cut it into squares, and then wash thoroughly. It tends to collect a fair amount of dirt, and you don’t necessarily want that in your ferment.
To a large bowl, add the cabbage and the salt. Toss, and then leave it for 1-2 hours. Over that time, you’ll see that the cabbage gives up a fair amount of water and begins to wilt. You want this. It will keep the kimchi crunchy later.
While the cabbage is wilting, add the ginger and garlic to a food processor and chop finely. Then add the pepper powder, fish sauce and ganulated sugar and blend the whole thing into a paste.
When the cabbage is done, rince off all the salt and add it to a large bowl with the scapes and the scallions. Add the spice paste and mix the whole thing well, making sure that the vegetables are all thoroughy covered.
Carefully pack the mixture into clean glass jars, cover them loosely (I like plastic tops, screwed on half way), and allow the kimchi to ferment in relative darkness for four to five days (until it has soured to your taste) and then move to the refrigerator. This recipe should make 1-2 quarts.
When loading the jars, I would recommend packing them tightly but not all the way to the top. Tight packing will prevent mold, and leaving some headroom will prevent spillage as the kimchi ferments. I would also recommend stirring and compacting your kimchi at least once a day.
It looks like this recipe calls for an awful lot of pepper powder, but it’s not actually that hot. I would strongly recommend not reducing it.

MEAGAN MAKES HERB POPSICLES AND WE ALL LOVE ANISE HYSSOP, 6/24/15

Liz Note: I spent a good part of the winter lying around Meagan’s apartment looking through her box of recipes. Seeing these make me giddy.
I love Saturdays. Before, Saturdays were the day I wanted my mind to turn off and I wanted nothing more than to sit and do. absolutely. nothing.
Now, I look forward to enriching my Saturdays. Today, I got up, went to the gym, then headed to the farmers’ market in East falls to spend time with Liz and the lovely Nancy from McCann’s farm and enjoy coconut+black sesame pops while I got to chit chat with people about new and interesting flavor and food pairings. It made me all the more excited to share this recipe with you.
Not to mention we’re now officially in summer and we need any and all excuses to have popsicles!
The recipes I have today can be done one of two ways. The variation with blueberries is absolutely heavenly. I was greatly inspired by a nonvegan recipe for blueberry hyssop ice cream at Crumb Blog (http://www.crumbblog.com/2010/08/iscreamyouscreamblueberryhyssop.html). You could easily make this into a very vegan ice cream by letting the “custard” cool completely, then following the instructions for your ice cream maker. You may need to fiddle with the recipe, as I haven’t tried it that way yet, but I definitely plan to!
Before we get to the recipe, though, let’s talk about hyssop anise.
It’s possibly one of the most beautiful perennial herbs. Hyssop anise is neither hyssop nor anise, and is in fact part of the genus Agastache or, rather, mint. It does taste like a combination of mint and anise, which is amazing and intriguing. It’s tall (3-4 ft), has a square stalk with large mint-like leaves and stunning blue/purple flowers that shoot right up to the sky. The herb itself is actually a native wildflower and its cultivation GREATLY benefits honey bees! Beekeepers have been planting hyssop anise near hives since the mid-19th century once they noticed their bees flocking to the flowers in the wild. Hummingbirds love it, as well as butterflies.
And I’m sure you’ll love it, too!

If ya’ll ain’t following @asteraligator on the Gram, you should be.
Hyssop Anise Lemon Pops
3-4 handfuls of hyssop anise leaves (about one bunch)
Lemon zest (1-2 lemons, depending on size and depending on your taste for lemon)
Juice of 1-2 lemons (again, depending on taste. I like meyer lemons for this, but it’s not necessary)
1 14oz can full fat coconut milk
3 tablespoons cornstarch
1 cup sugar (I used turbinado, but you don’t have to)
1 ⅓ cup water
Variation: ⅔ cup blueberries
1) In a small sauce pan bring sugar, water and leaves and bring to a low boil until sugar is dissolved, about 5 minutes. You don’t want the leaves to get burned in the process, so keep the heat low.
2) Once sugar is dissolved and the liquid begins to smell strongly of hyssop anise, remove from heat and strain into a bowl of to the side. add lemon juice.
3) remove ⅓ of the liquid from your can of coconut milk, mix with corn starch and put the rest of the can in your saucepan over a low heat. Once it starts to get warm (not boiling), add the hyssop lemon juice mixture, stir well.
4) Add lemon zest (and blueberries if you’re going to add them). Stir.
5) Then the reserved coconut milk/corn starch to what’s in the saucepan and stir continuously until it starts to thicken. It will get REALLY thick. Don’t worry! If you start to get clumps of gelatinous goop, turn up the heat eversoslightly and stir until they’re gone
6) Remove from heat and continue stirring for a few minutes. Pour into your molds. Add your sticks or mold toppers and freeze for at least 6 hours.
7) ENJOY!
Additionally, I think this herb would go great with mullberries, blackberries, peaches, apricots and plums! Feel free to try new combinations and let me know how it works out!
Thanks, Meagan!
Next up: Our friend Adam shares a garlic scape kimchi! Stay tuuuuuned.
SORREL: DON’T BE AFRAID, MAKE SOME PESTO, 6/10/15

Hello! If you missed it, we kicked off the recipe page of this lovely little blog last week with some delicious Komatsuna and Salmon from our darling friend and CSA member Sarah Merusi.
This week, animal-whisperer, beloved market regular and vegan chef extraordinaire Meagan Maxwell teaches you to love sorrel, one of the less common greens we grow over here on Crooked Row. Enjoy! She is amazing, and so are you.
Hello, everyone! Meg here, and I’m so glad to be writing for Liz! This is such an amazing opportunity to share recipes with you, and also for me to push myself to try new recipes, ways of cooking, and ingredients!
This weekend marked the first farmers markets of the season in Philly. What a great weekend it was, too! The sun was shining, everyone was out celebrating spring!
Now, if you were out, you probably picked up some fresh, spring herbs. Some of these herbs you may recognize, some you may not. One that many people seem to be stuck on is sorrel. I remember last year sitting with Liz and people asking two questions over and over:
- What does it taste like?
- What do you do with it? or, How do you cook with it?
I can answer both of these questions for you right now. But first, let’s talk about sorrel for a bit. Sorrel is a flat-leafed, fragrant herb that is also called dock. Its leaves are a beautiful color of pure green, sometimes with red veins, and a bit arrow-shaped. It’s not to be confused with Caribbean or West African sorrel, which is actually hibiscus buds that have been dried that you can use to make a delicious, cooling drink from!
So, what does it taste like?
Green sorrel, which is what Liz serves up at market, is delicious. It’s a bit citrusy, and it’s used all over the world in traditional foods like spanakopita and potato dishes. It has a very distinct flavor, and it is almost surprising at first!
What do you do with it?
Many traditional methods of consuming sorrel are in a preserved form (such as in olive oil), served on top of something. It’s also cooked into stews, steamed, or mixed in with salad greens.
Today, we will be talking about a new take on an old favorite: Pesto.
Pesto is really just a reference to anything muddled, traditionally pounded in a mortar and pestle. While we may be most familiar with pesto made with basil, pine nuts and parmesan, variations can be quite extensive! Our version today is going to be vegan, and will use easily found ingredients, and quite affordable (have you seen the price of pine nuts!?).
So, how do you cook it? Here’s one way:
Sorrel Pesto
Ingredients:
1 bunch sorrel (about a cup), chopped if you’re using a mortar and pestle
⅓ or less (depending on taste) cup pumpkin seeds, also called pepitas, plain dried unsalted
2-3 cloves garlic, skins on
⅓ or so cup olive oil
salt to taste
You’ll also need a non-teflon skillet that you can put on high heat and a mortar and pestle or a food processor
- Wash and dry the sorrel before using, chop if you’re using a pestle to make things go faster. Place your skillet over a medium-high or high heat and wait for it to get nice and hot
- Place the pepitas in the skillet with no oil keep them in there, constantly stirring them around, until they’re toasted a little bit. You don’t want them to be toasted until their black, just until they’re browned. A little black is fine, just don’t char them!
- Put the sorrel and pepitas in whatever you’re using to make the pesto, then put the garlic in the pan, still with no oil. Place the cloves in and every minute or two, turn them to a new side. You’ll want to keep doing this until the skins all turn mostly black. Don’t worry if the garlic isn’t a paste consistency! This is just to mellow out the pungent flavor and bring out the great flavors in the garlic! When it’s all mostly black, remove from heat and wait for the clove to cool a bit before removing skins and tossing them in with the sorrel. I like this way of roasting garlic because it lets me control how much I make and I don’t have to slather a whole clove in oil or turn my oven on!
- Now, the fun part, muddle the ingredients with some olive oil and salt. You’ll want to grind them all nice and well, adding the oil a little bit at a time. If it’s less, fine, more that’s fine too! Just get it to a consistency you like. In the food processor, this will take a few pulses, and it will be a few minutes with the pestle. Don’t forget to season with salt to your liking!
That’s it! It seems like a lot, but it’s not and it’s sure to impress not only your friends and family, but you’ll be turning to it all season long! If you have any leftovers, you can put them in a glass jar with a bit of olive oil on top for about a week, or freeze it. It goes great on pasta, french bread, or anything else you can think of!
Let me know how you like it. You can feel free to customize this to your liking, but this is a ratio that works well for me.
Thanks!
Meg
LOVE AND FOOD: Guest Post By Sarah Merusi
6/3/2015
To start, I want to say that the farmers out there appreciate this massive rain more than anyone right now. Liz, I think your rain dancing and dancing in general (I saw those hips shake at the wedding) has paid off. Hopefully your veggies are thirsty no more.
This is the first of many guest posts I will contribute to the Farmer Liz blog this season and it feels great to be writing. Just recently, I married the love of my life on a beautiful day in May – shared by the company of our best family and friends. My dear Liz was there in a lovely summer dress sharing good vibes and dance moves.
This past week, Nico and I returned from our honeymoon in Hawaii – snorkeling and swimming with turtles in the beautiful blue Pacific! We were rejuvenated and ready to get back into the swing of things – just in time for the first week of our Crooked Row CSA.
Our first meal at home as a newly married couple was inspired by the ingredients in the food share: Salmon, Mashed Potatoes, and Sautéed Komatsuna. Neither of us are chefs or food photographers, but here is a home recipe I came up with for you to share the same meal with us.

Guess who eats more greens in the family?
Here’s the recipe.
* – Ingredients from Crooked Row CSA
Serves: 2
Ingredients:
4 Yellow Potatoes
2 Salmon Filets
*1 Large Bunch of Komatsuna
*2 sprigs of Green Garlic
1/4 cup milk
1/4 cup butter for potatoes
1 tbsp. butter for salmon
*1/2 teaspoon dried Thyme (saved from last summer, but still delicious as ever)
1/4 teaspoon Merken or smoked chile powder
1/2 teaspoon sea salt
3 cloves garlic
Olive Oil
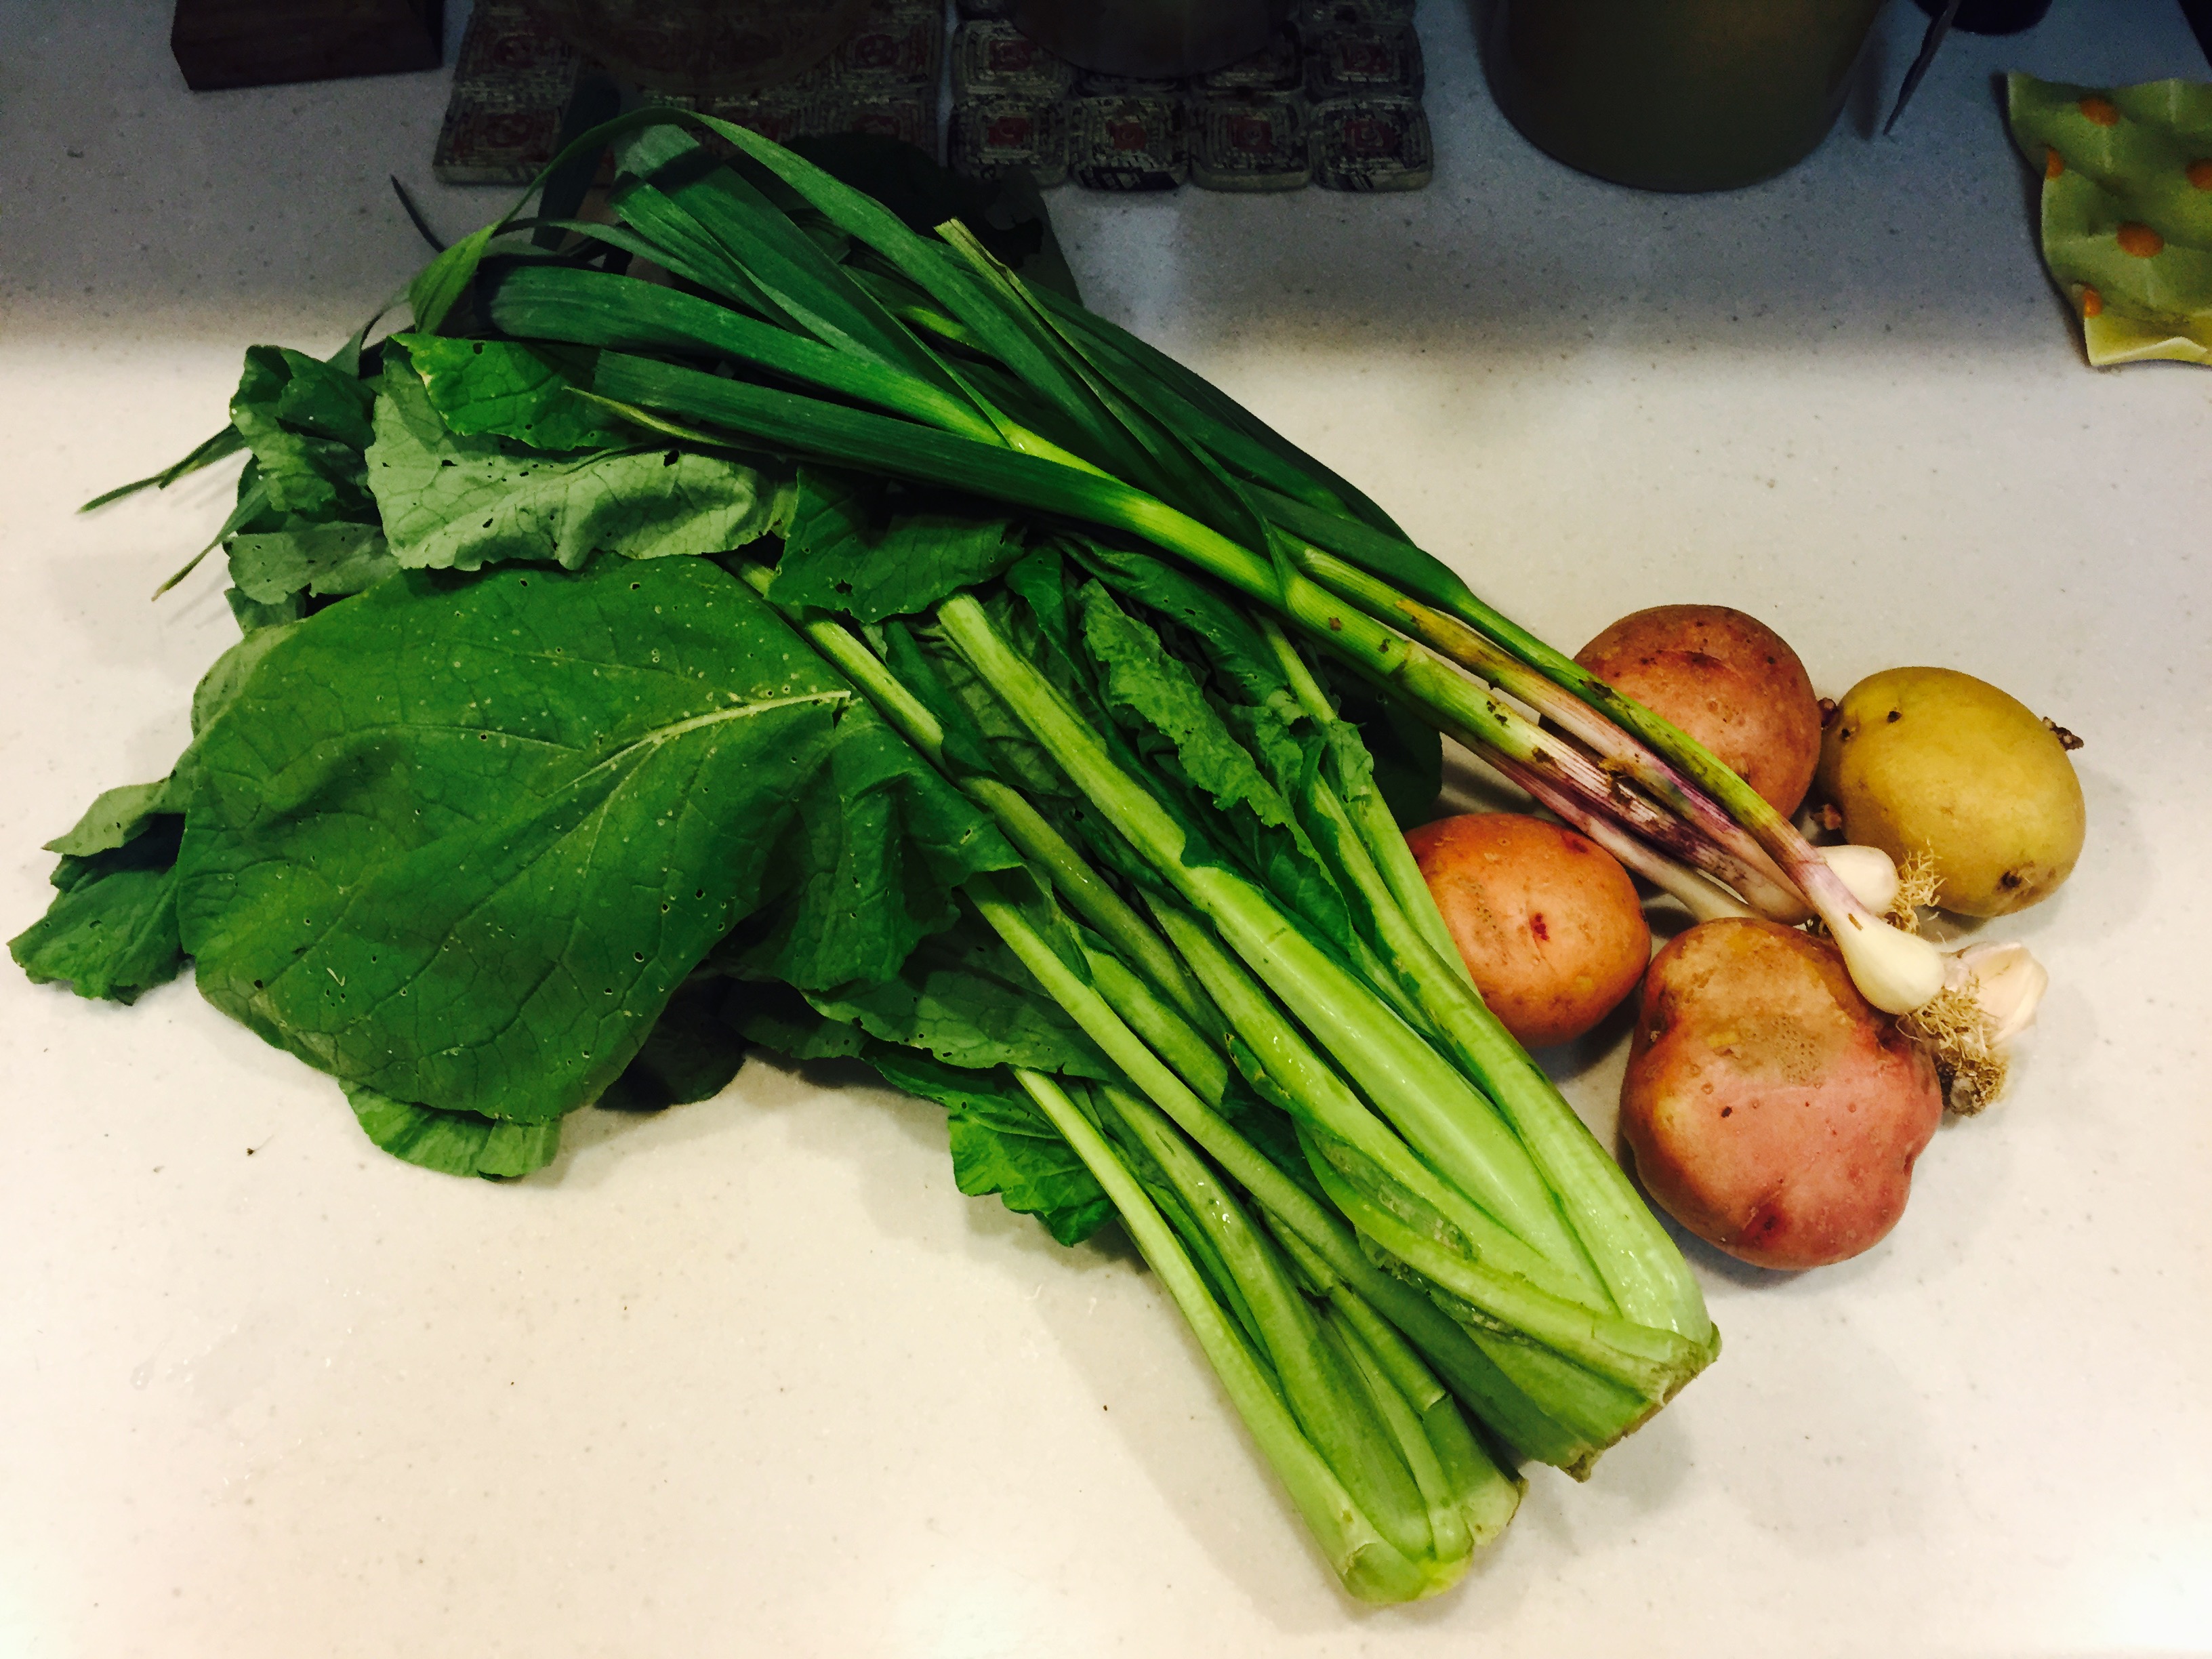
Glam shot of Komatsuna, Green Garlic, and Potatoes.
Potatoes
– Peel and then dice the potatoes
– Place potatoes in cold water on the stove and then boil until soft
– Chop 3 cloves of garlic and add to the potatoes once they are ready
– Add 1/4 cup of milk, 1/4 cup of butter, 1/2 teaspoon dried Thyme, 1/4 tsp of Merken or smoked chile powder, 1/2 teaspoon sea salt
– Mash!

Do the mashed potato!
Komatsuna
– Optional: Remove thick spine of the Komatsuna first for a softer vegetable
– Chop Komatsuna
– Chop Green Garlic finely and add to frying pan with olive oil
– Add chopped Komatsuna to the pan and lower heat
– Let the greens cook down a bit and then add salt and merken (or any smoked chile)
– Cook until the greens look good and ready!
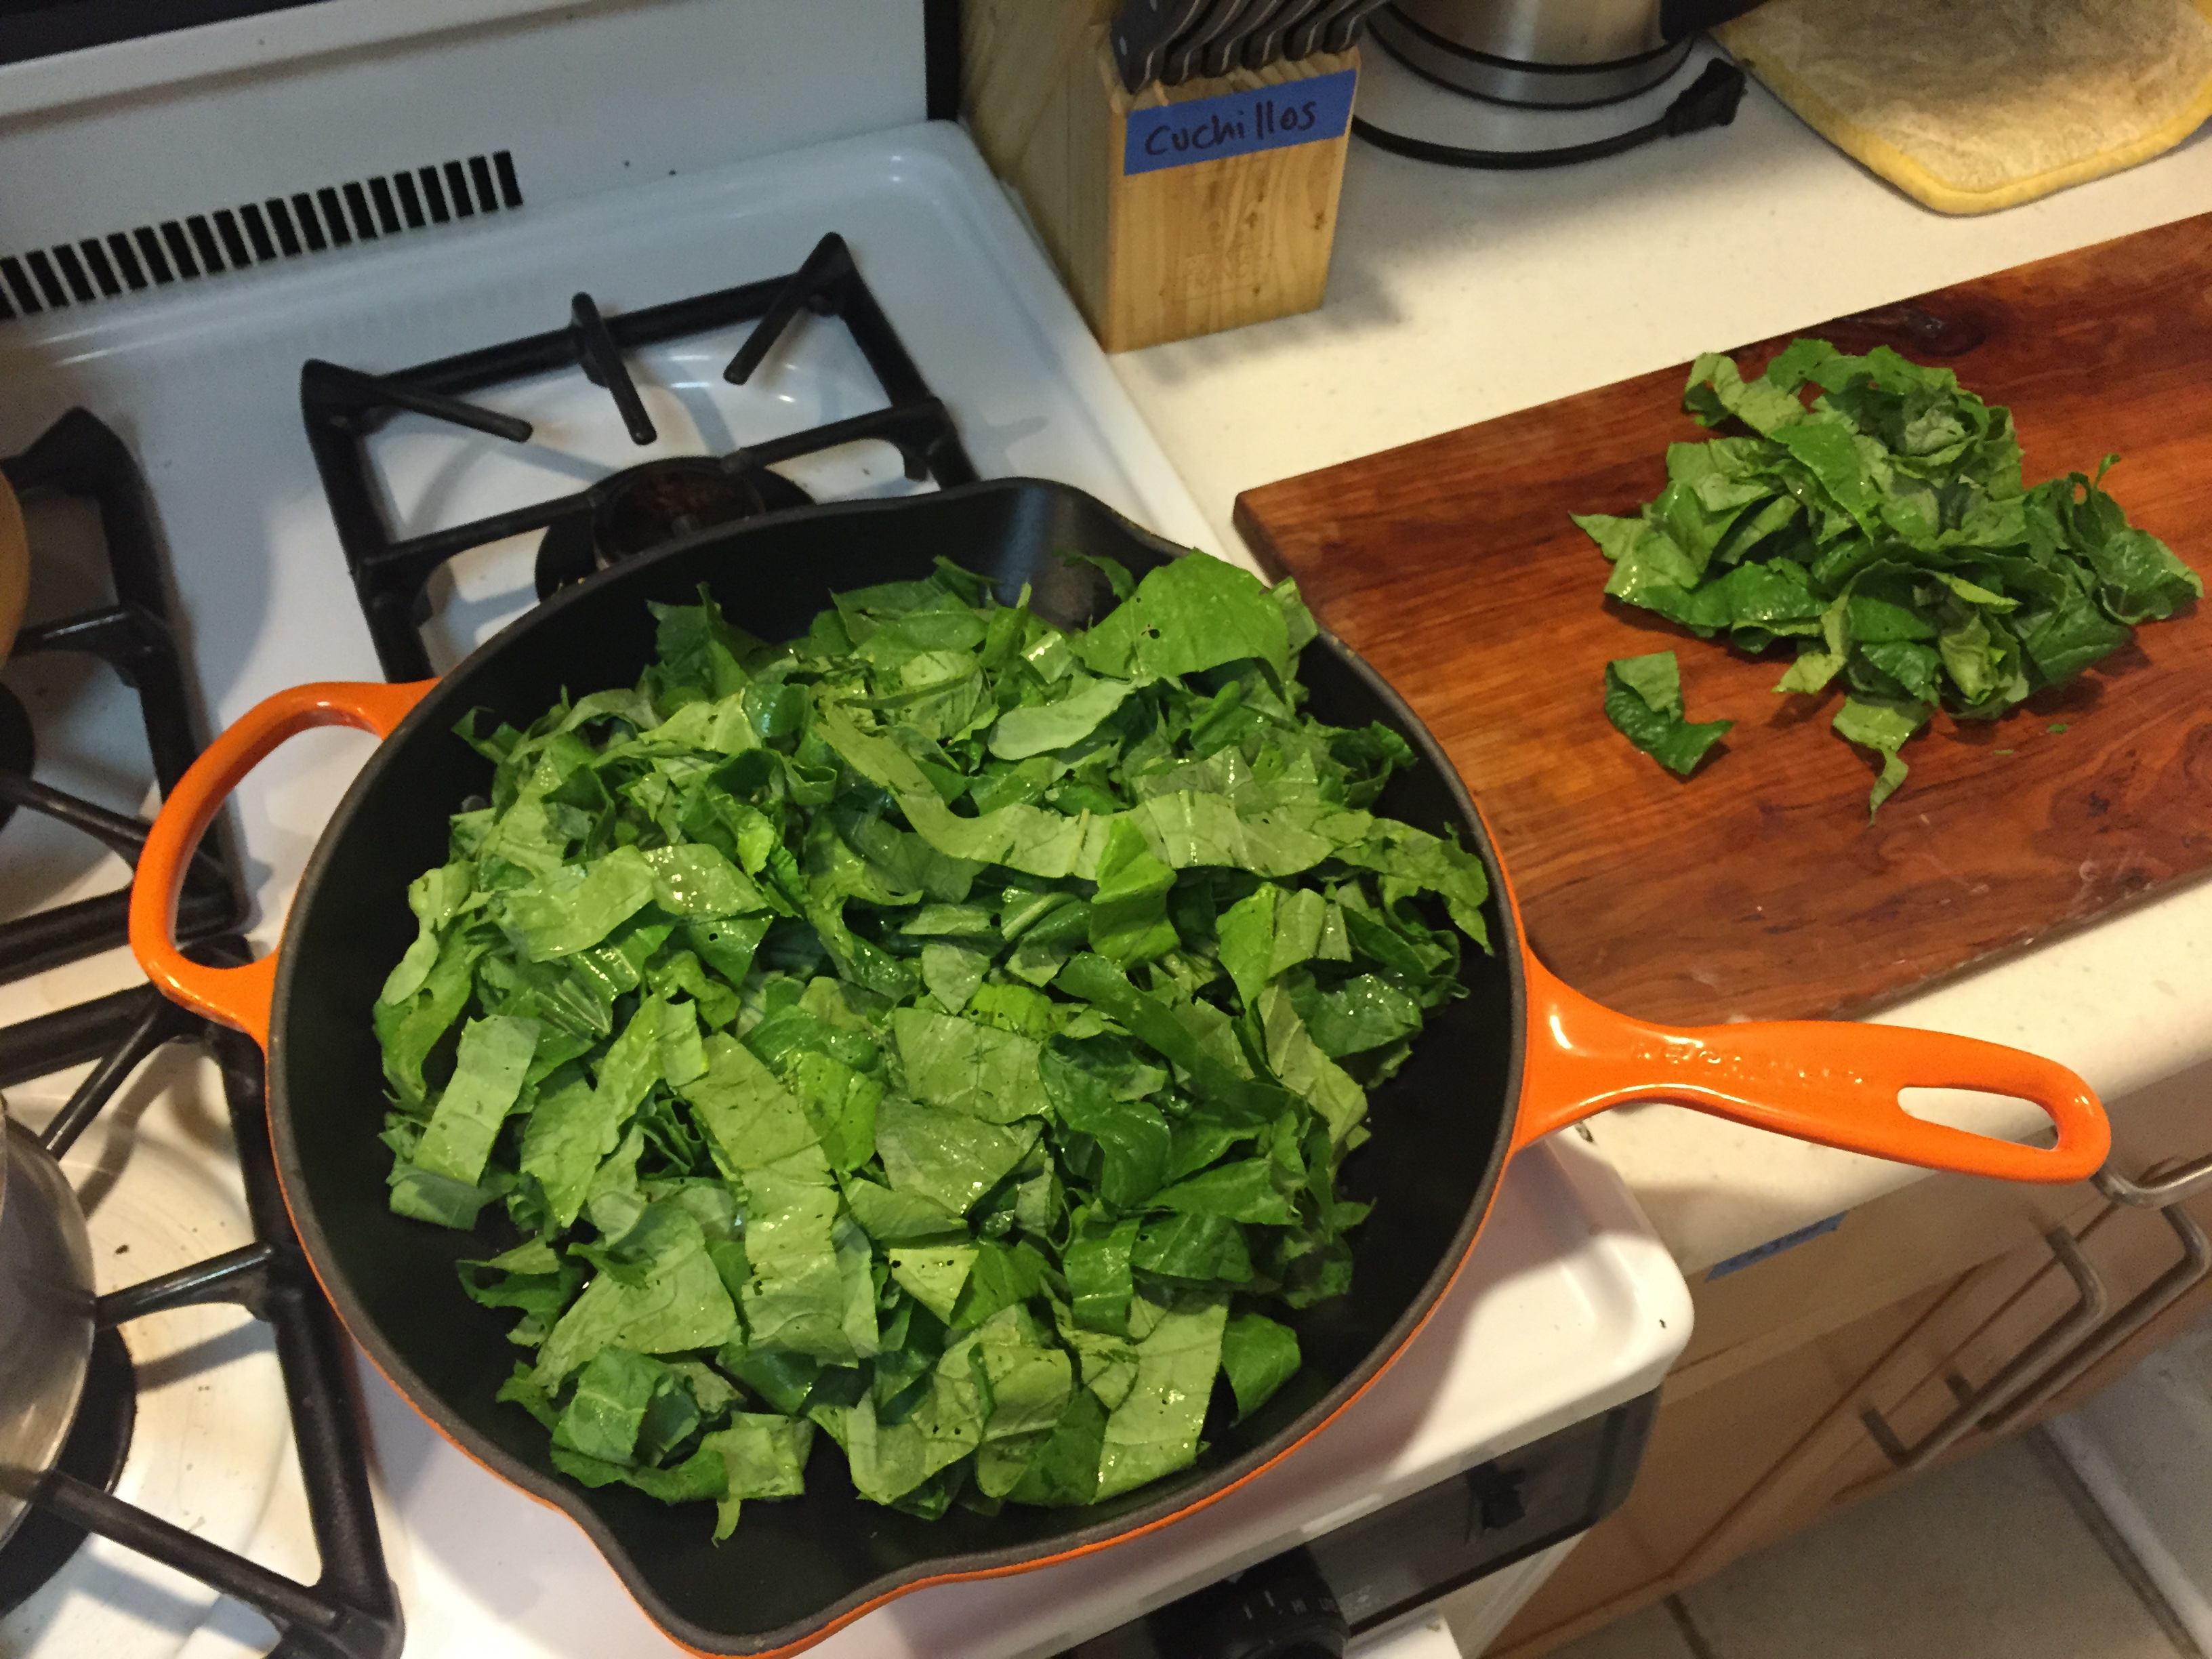
Green goodness.
Salmon
I bought the salmon filets frozen a while back (from Whole Foods) and then thawed them out the night before in the refrigerator. The general rule I’ve learned about cooking fish is that if you plan to eat it the same day, buy it raw and then either eat it raw or cooked. If you plan to eat it at a later date however, best to buy it frozen.
Start out by slicing off the skin.

Make sure your knives are sharpened!
Then get a pan ready with 1 tbsp. butter and let it sizzle before adding the salmon.
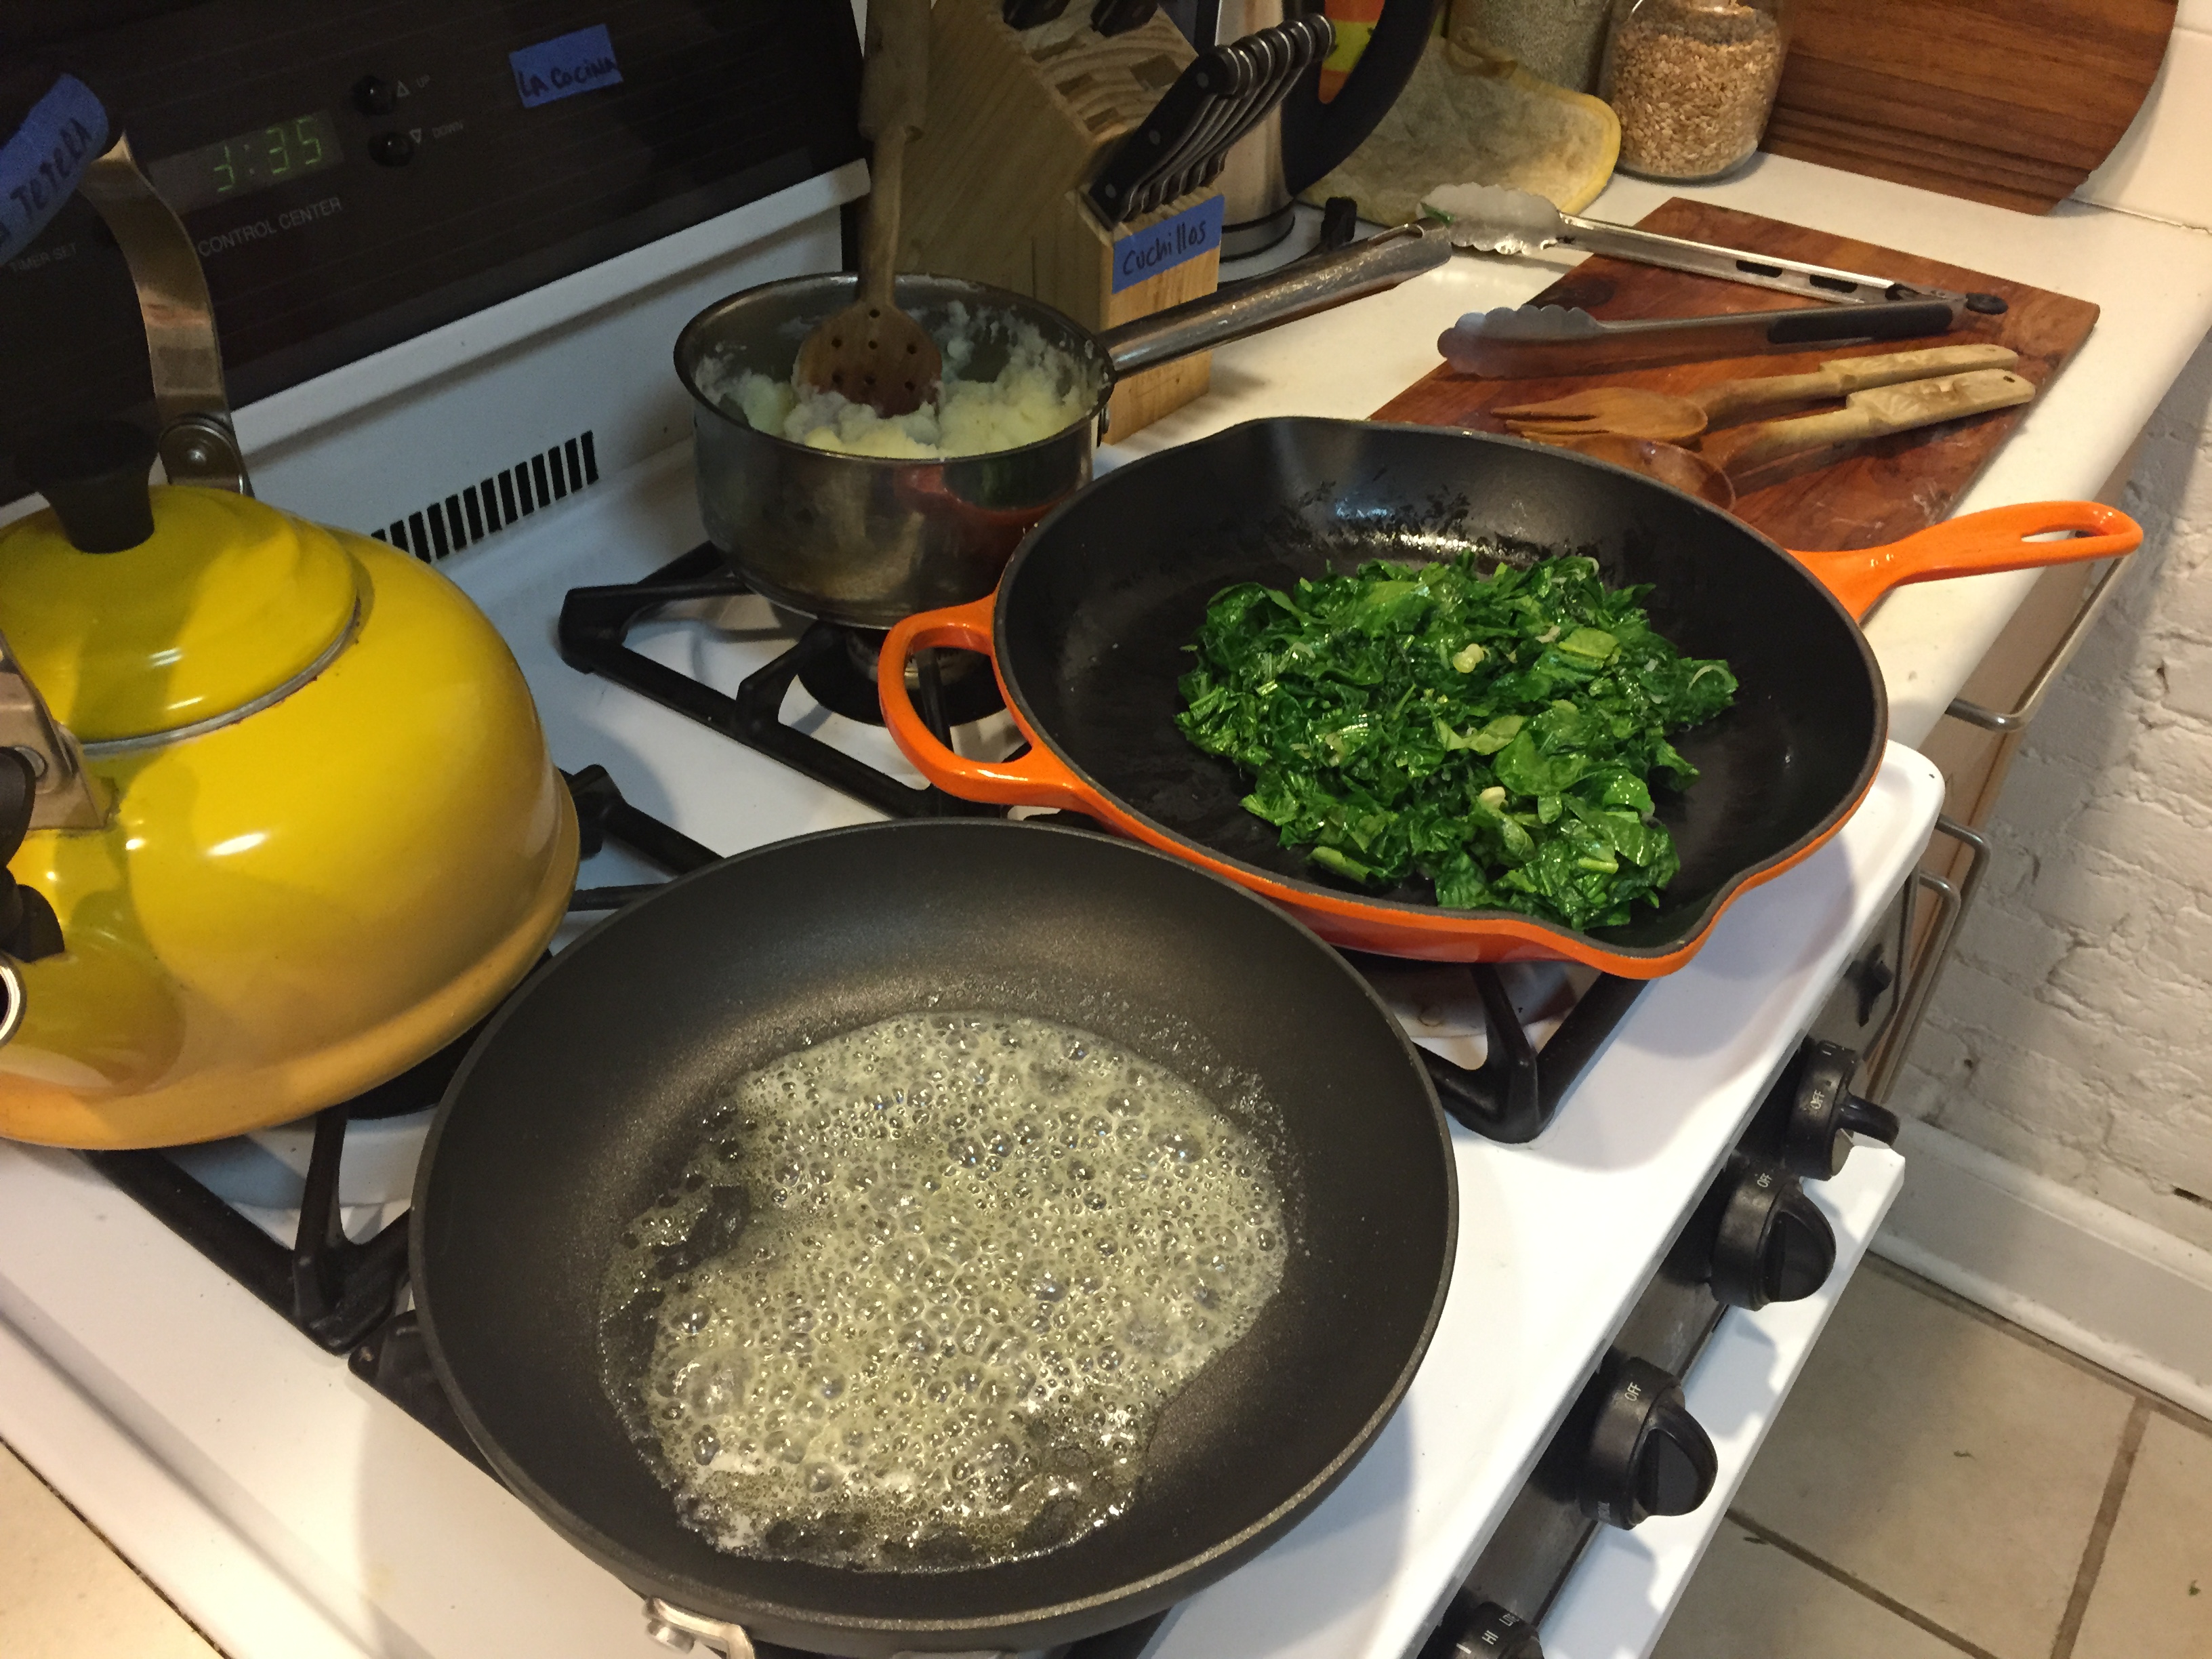
Sizzling butter..! Look at those greens and mashed potatoes ready to eat!
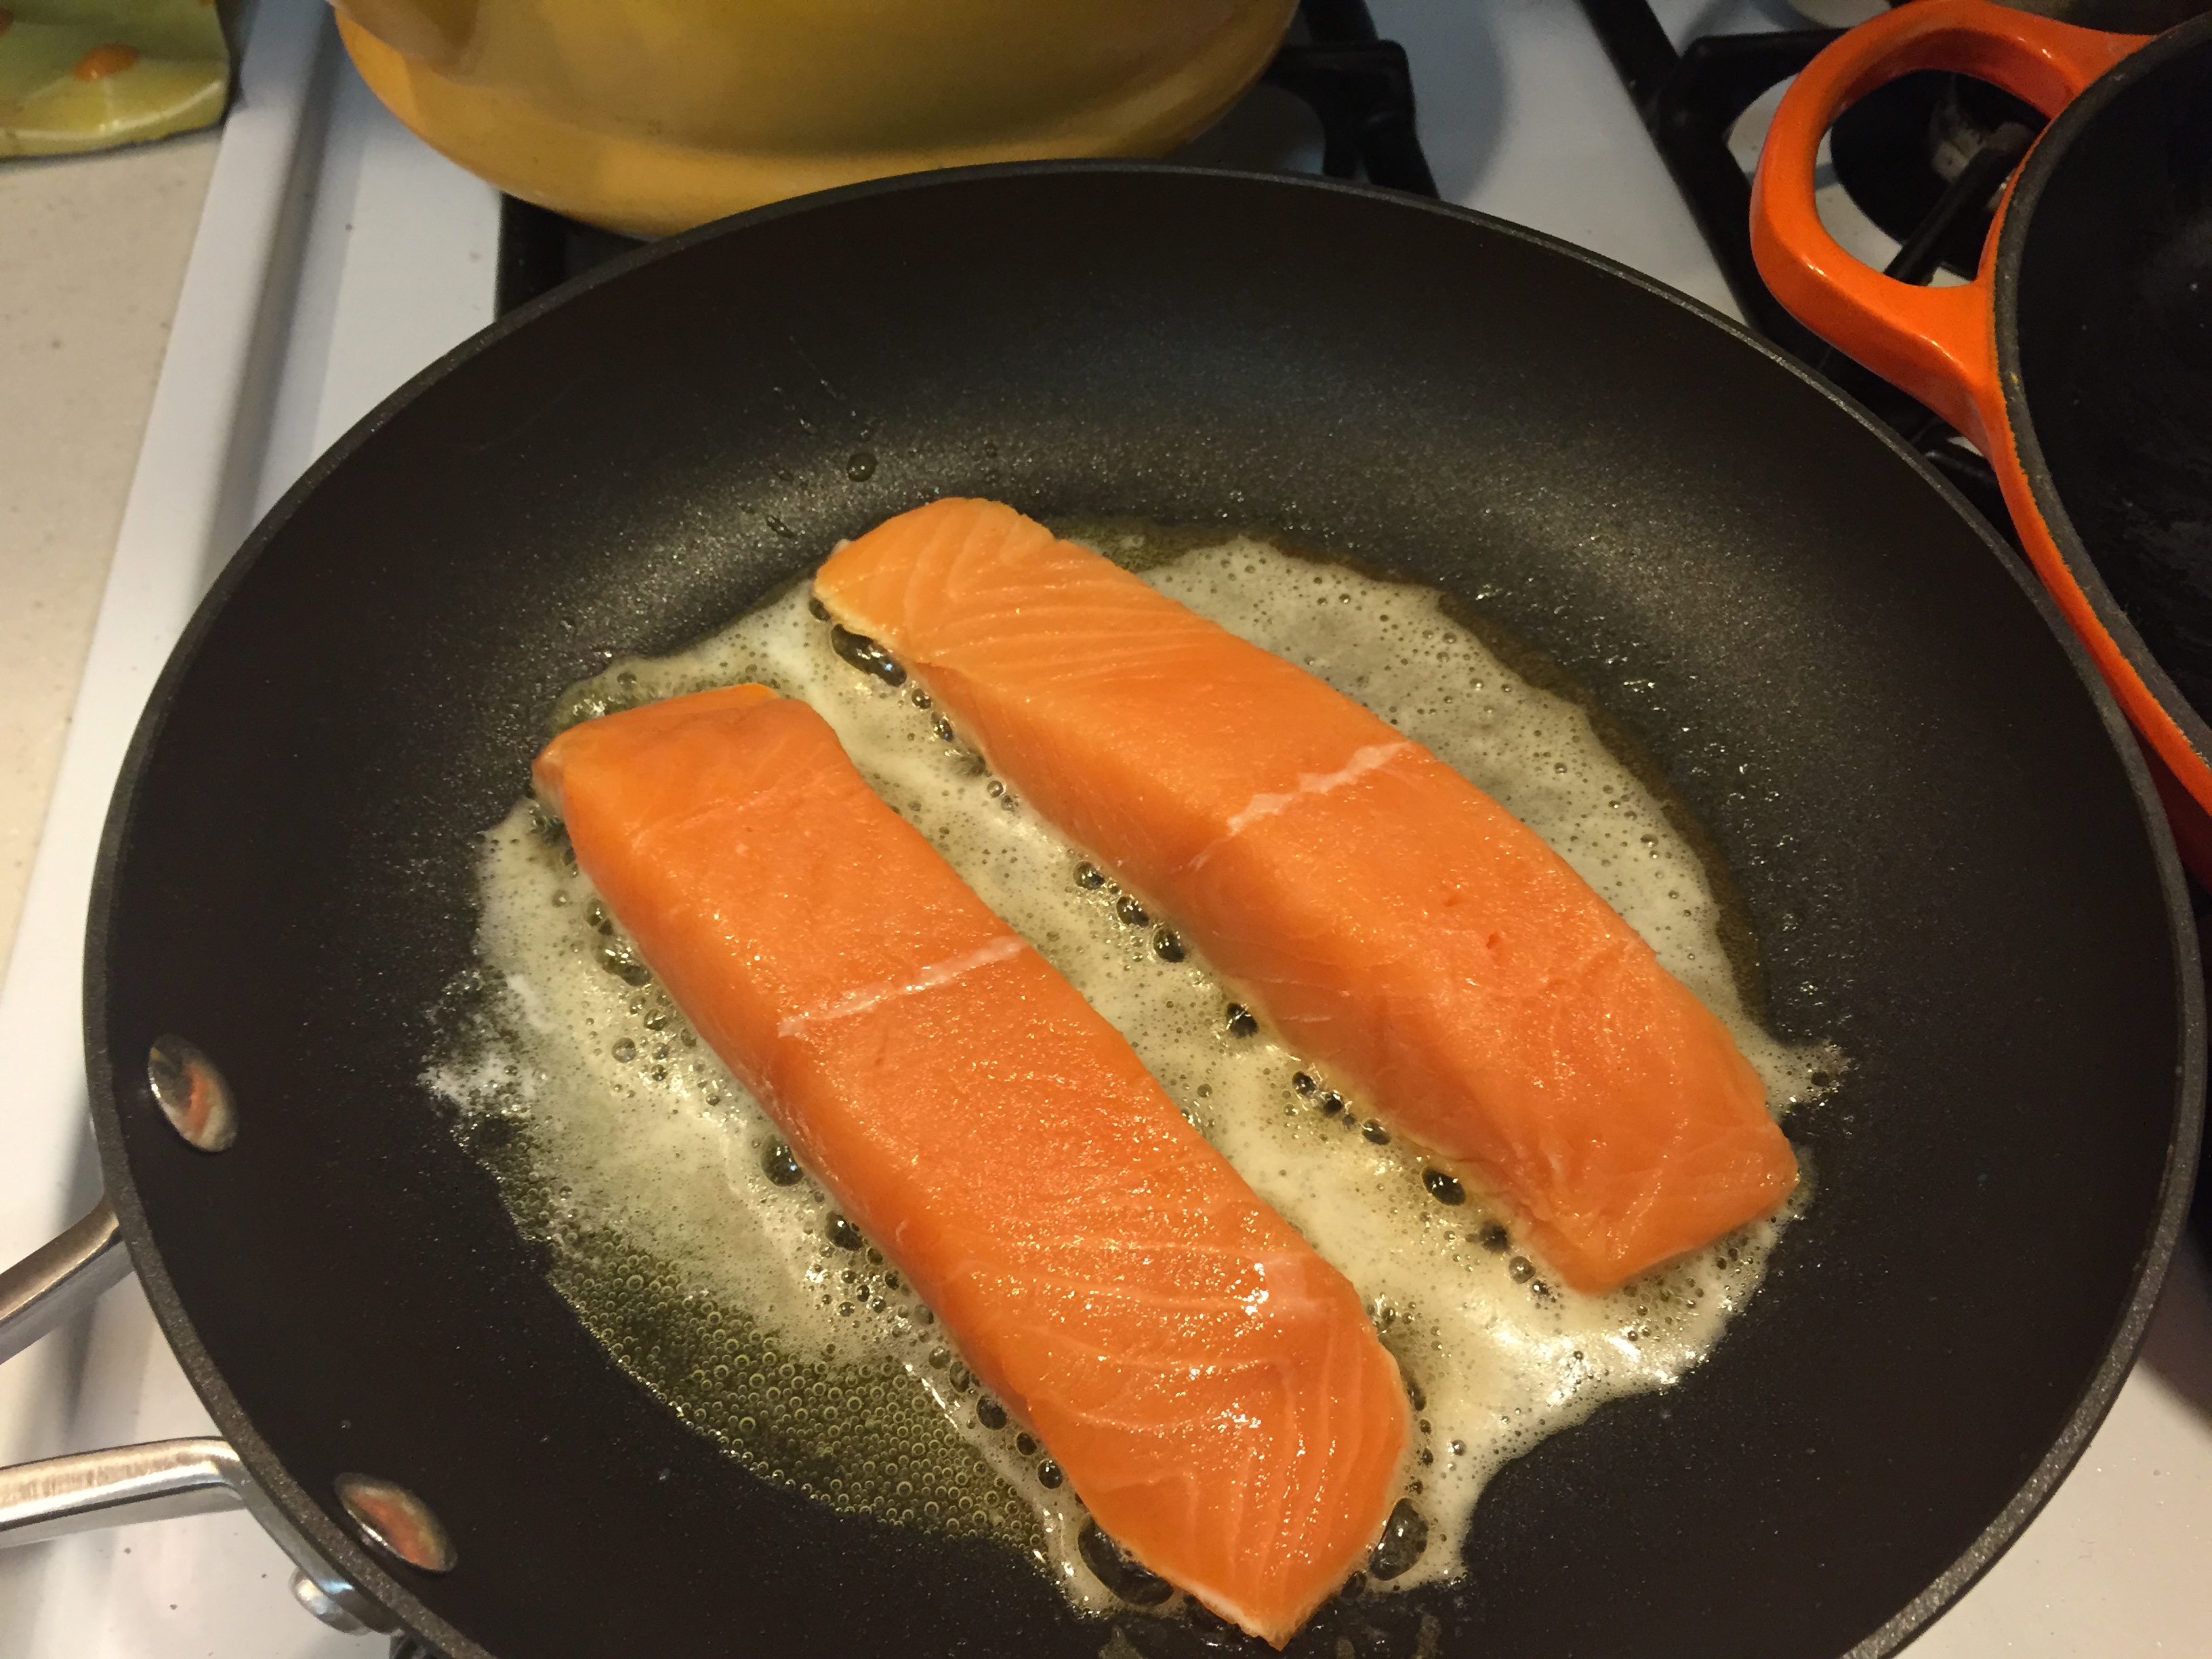
Add salt to each side and cook for about 5 minutes per side.
Once the salmon is ready – you’re all set to place on plates. For wine: I would pair this meal with Pinot Noir or Chardonnay.
Enjoy!

Pingback: Full-Time Farmer, Part-Time Writer | Farmer Liz
Pingback: Crooked Recipes – Meagan Schools Us Through Our Fear of Sorrel | Farmer Liz
Pingback: Savoring the Summer and Mixing Up The Toolbox | Farmer Liz