Working in the dirt. You know, sort of.
The season has officially begun!
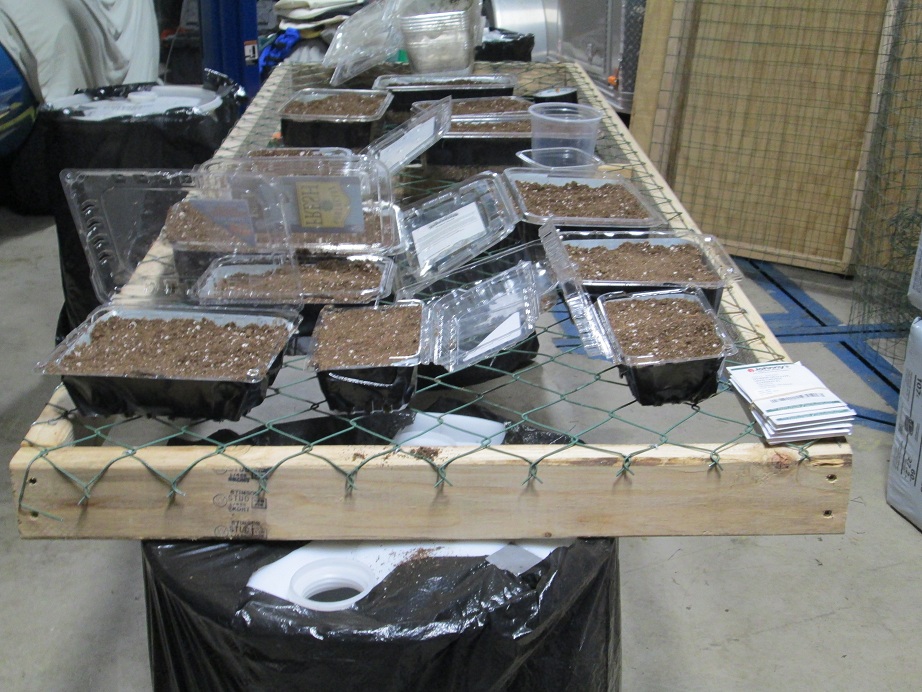
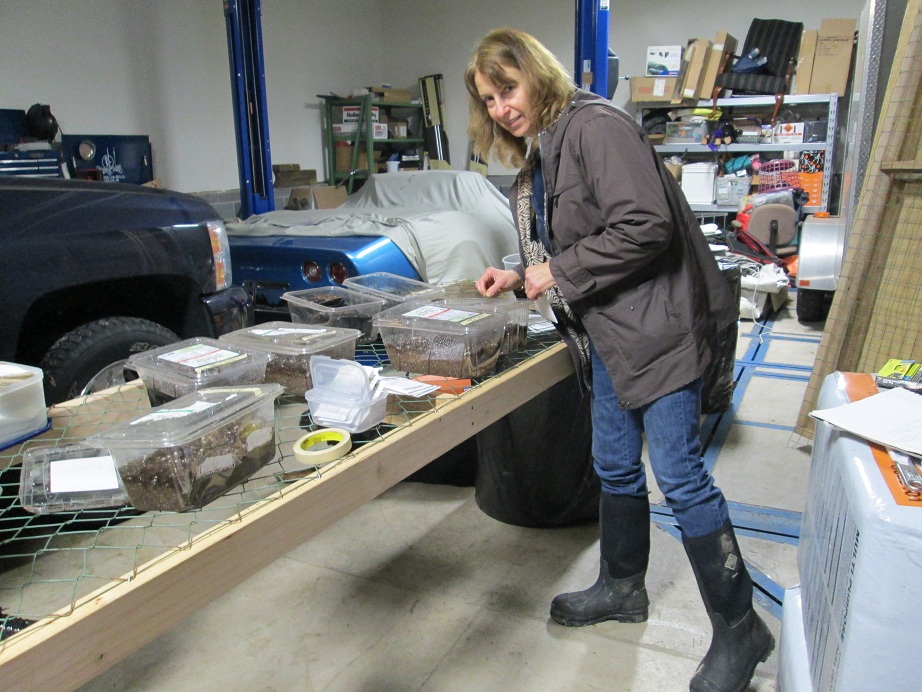
Yesterday after some bribing and coercing (just kidding) I wrangled my mom and aunt out for some farm work. We set up on a future greenhouse bench in the back garage at the house and spent the better part of the morning and afternoon seeding onions.

We mixed the Promix Organik potting medium with Garden-tone soil amendments for an added boost.
And what better to do on a rainy Wednesday in February? Armed with Keith’s new book, a radio and a Frankie Valli CD, we drilled holes in the bottoms and some of the lids of piles of old salad containers Mom’s been collecting for a year or so, covering the excess clear patches with black tape. We then filled the containers with potting mix from the wheelbarrow, moistened the soil with a spray bottle of water, made little furrows in the containers (about 1/4 in deep, one in apart), and dropped in something like 20-35 seeds in each furrow depending on length.
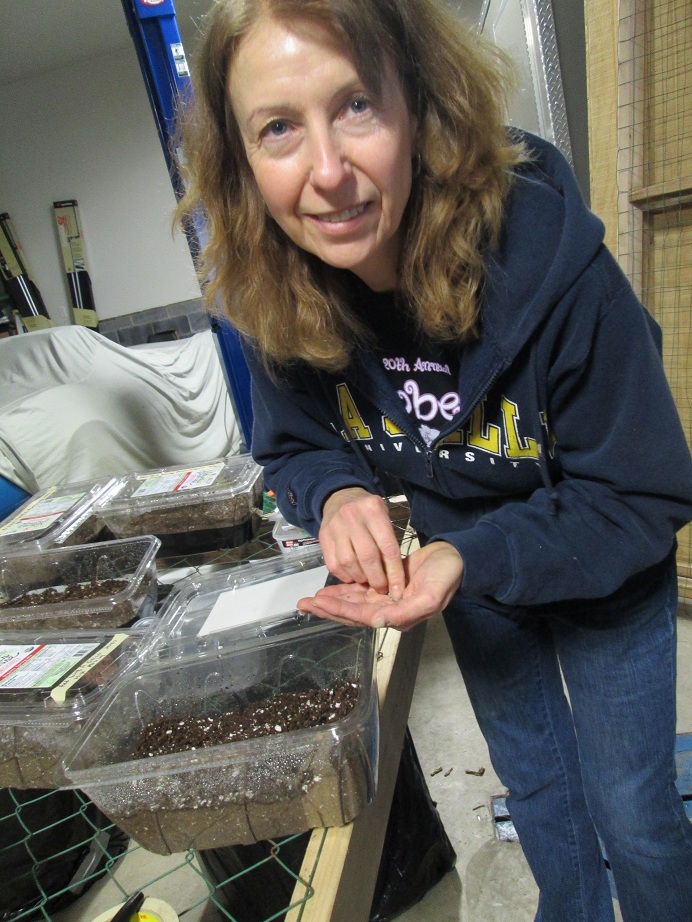
What a ham.

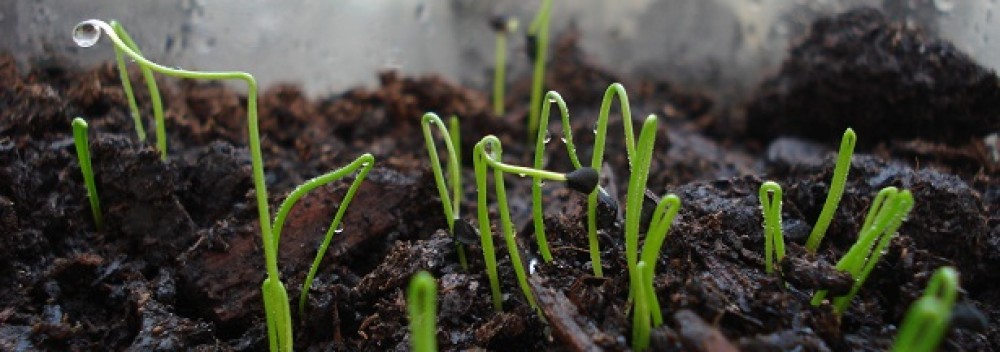
Here are all the onions we’ll (hopefully) be offering!
We then labeled the sides of the container with the seed’s variety, company, organic status (some of the Fedco and Johnny’s seeds aren’t certified organic), and date seeded. I set them up in our newly-erected heating mat (more on that later), dragged out a hose and misted the flats. This may sound simple enough, but all told we ladies were chugging away for a few hours (with lunch breaks, of course), and seeded something like 5,000 onions! I’ve got a bit more to do today now that I’ve made some space and know that the heating coils won’t burn down the greenhouse (there was some concern, if only from my insane brain, that that might happen, which led to many visits to the mats throughout the day and night).
Seed those onions!
We also seeded a few cells of basil and lemongrass for fun. The lemongrass seed smells great, and I’m going to start some basil and other herbs soon to sell in Jiffy Pots over at Health Habits, where I’m working part-time (or to any of you who want some!).

My little babies. all waiting to be tucked in to bed.
Last night I brought out some leftover greenhouse plastic and tucked the little onions in for bed. Covering them at nights keeps some of the heat from escaping. But when you lift up the containers the bottoms are warm, which is just what we wanted! Thank you, ladies.

“Goodnight, onions,” she said in her best Christopher Walken voice.
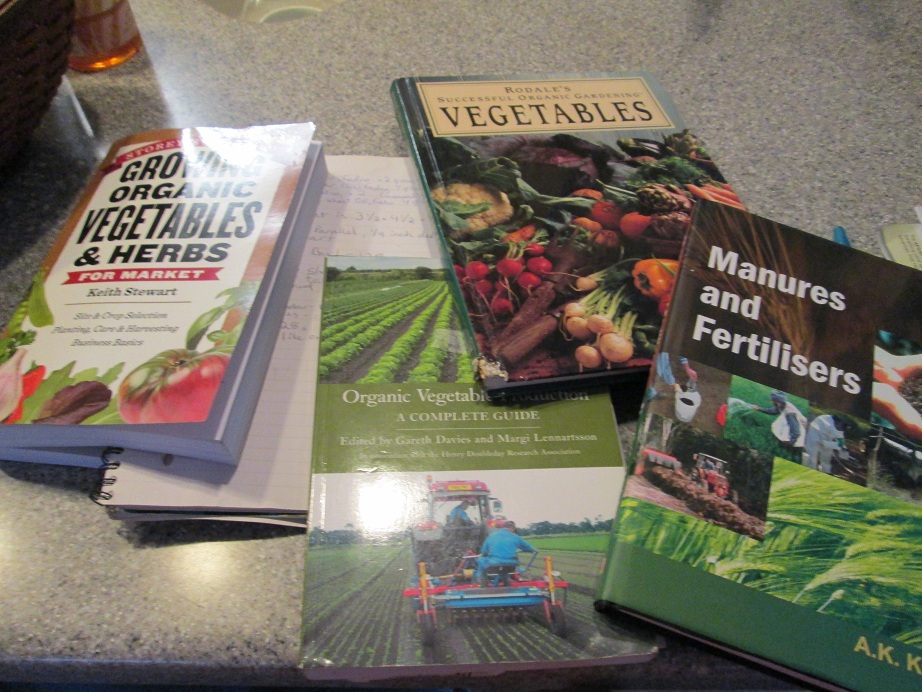
And thank you, Keith. His book is intricately outlined and details propagation, transplanting and harvest for most of what I’m growing. And I hear his voice with that light New Zealand accent as I’m reading, which is awesome and hilarious.
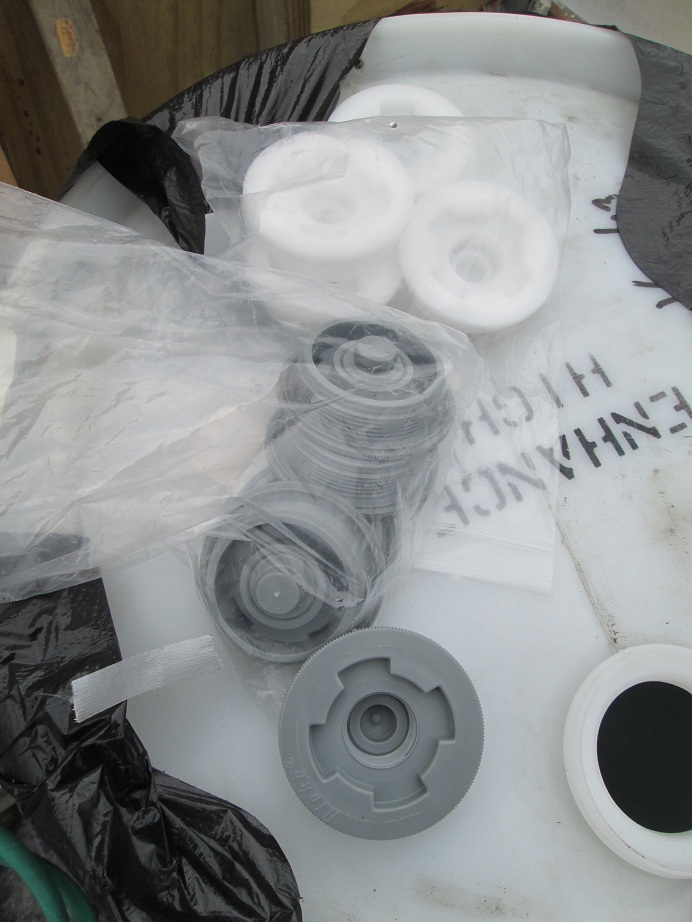
Our dear friend Anthony supplied us with drum caps for our passive solar heat!
Yesterday was also a big day for mail! My friend and farmer compadre Anthony ordered some cap samples for me for our water barrels, which I’ve covered with black trashbags and which we hope we can use as passive bottom heating for our trays as the water in them heats up. Caps are trickier to find than the barrels themselves, and it was great to have such a helpful resource to procure them.
Two other recent purchases arrived – one was a riveting book about manure, that I feel will be helpful but know I’ll already have a really difficult time reading.
This looks like a college desk – this is why I DIDN’T go to grad school, ahhhh.
The other arrival was more fun – A walk-behind Earthway Seeder. These guys are perfect for direct seeding all sorts of produce, from beans and peas to turnips and radishes. You change the metal plates to the size of seed and – well, I haven’t even assembled it yet. So we’ll talk more about this awesome gadget when I gear up to use it.
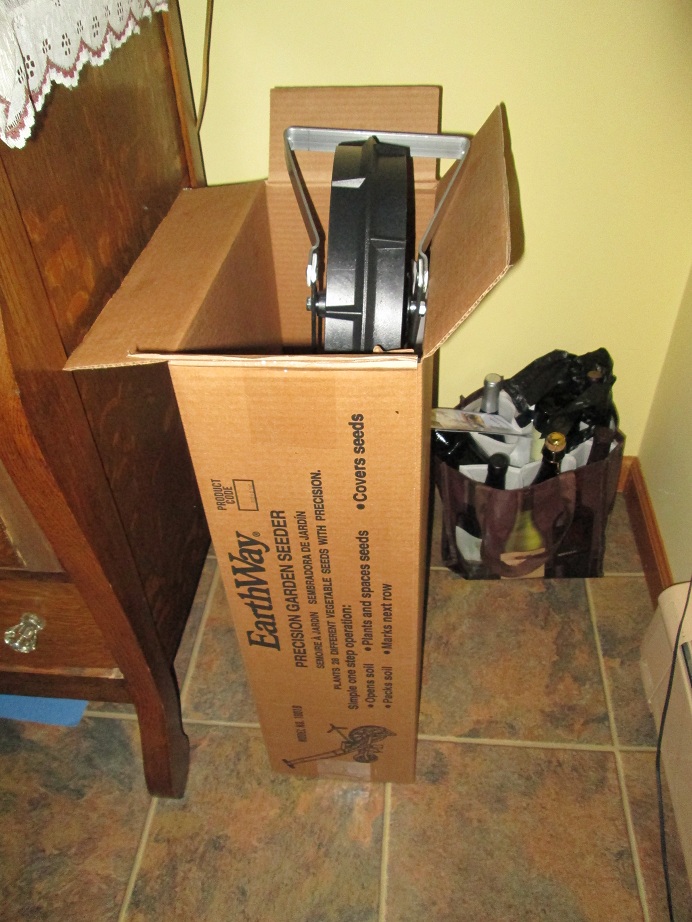
Isn’t mail great? Earthway Seeder arrived!
Now, to take a closer look at that heating system:
So when Matt was still here we spent a fair amount of time researching the best way to create a heating area for germinating seeds. Keith had a number of heat mats that the user would plug in and set at a certain temperature, and it was a good system because of it’s simplicity for the user and it’s ability for temperature control, but it’s an expensive one and now something I can use right now. So we searched around and Matt found some Gro-Quick soil warming cables and I found some online instructions from a farm that has been using them successfully.

Our heating bed!

These are the warming cables sticking out at the end. Despite some questionable customer reviews, they are warm to the touch, and I could feel the heat in the sand and in the bottom of the seedling containers. We’ll see how they do!
We built a wooden frame, braced the bottom with some old board fencing from the Papa Wagner scrap collection and some cinder blocks, and then attached hardware cloth and 1/4 sheet of insulation on the bottom. We ran over to a supply store for buckets of sand and then dumped 1/2 of sand over the insulation. We then took one set of the cables and laid them back and forth in the sand in an S-shape sort of pattern, and then covered the cables .

Two of these cables were the cost of one heating mat (which only holds three trays). We are stretched them over a space a bit further than suggested, but the sand seems to be helping in the transfer of heat. Of course, lots of people use all sorts of methods to start seeds. My aunt is going to give us some windows to set up some little warming spots in our old garden to see how that works.
And Teena Bailey, local farmer and grain grower extraordinaire of Red Cat Farm, uses these incredible cinder block bunkers packed with manure and bedding and covered with compost, to heat her seedlings. Teena opened her farm to me yesterday morning and showed me her area where she cleans and stores her cold produce and eggs, and her big and beautiful greenhouse that can fit a truck inside and where she has her enormous and impressive bunkers. It was great to speak with her – she’s a local legend and just the spunkiest lady farmer I’ve ever met – and it’s exciting to know that folks like these are so close at hand.
All in all, this has been a great week. Still looking for equipment (and am thus far empty-handed), and applying to markets. I re-applied through The Food Trust with a more extensive and articulate application, and I’m making strides toward finishing the momentous Greenmarket application (which is daunting but has really made me organize my field planning, which has been great). Must finish seeding onions and starting some more herbs.
And I’m thinking about a small Philly and local experimental CSA, as I may have mentioned before. I’ve already had some folks express interest, but if you’re up for an adventure in vegetables, drop me a line at liz.m.wagner@gmail.com. I’ll have more specific details and plans in the next week or so to share.